Introduction
Welcome to your ultimate guide for setting up a High-Security Smart Home AI Network. In this step-by-step tutorial, we will guide you through the process of building a secure smart home network that combines advanced AI, automation, and robust security measures to protect your connected devices and personal data. This guide covers network setup, hardware choices, device management, and automation.
Benefits of a High-Security Smart Home Network
- Enhanced protection of personal data.
- Greater control over device security.
- Improved network reliability and performance.
Step 1: Plan Your Network Infrastructure

Separate Your Networks
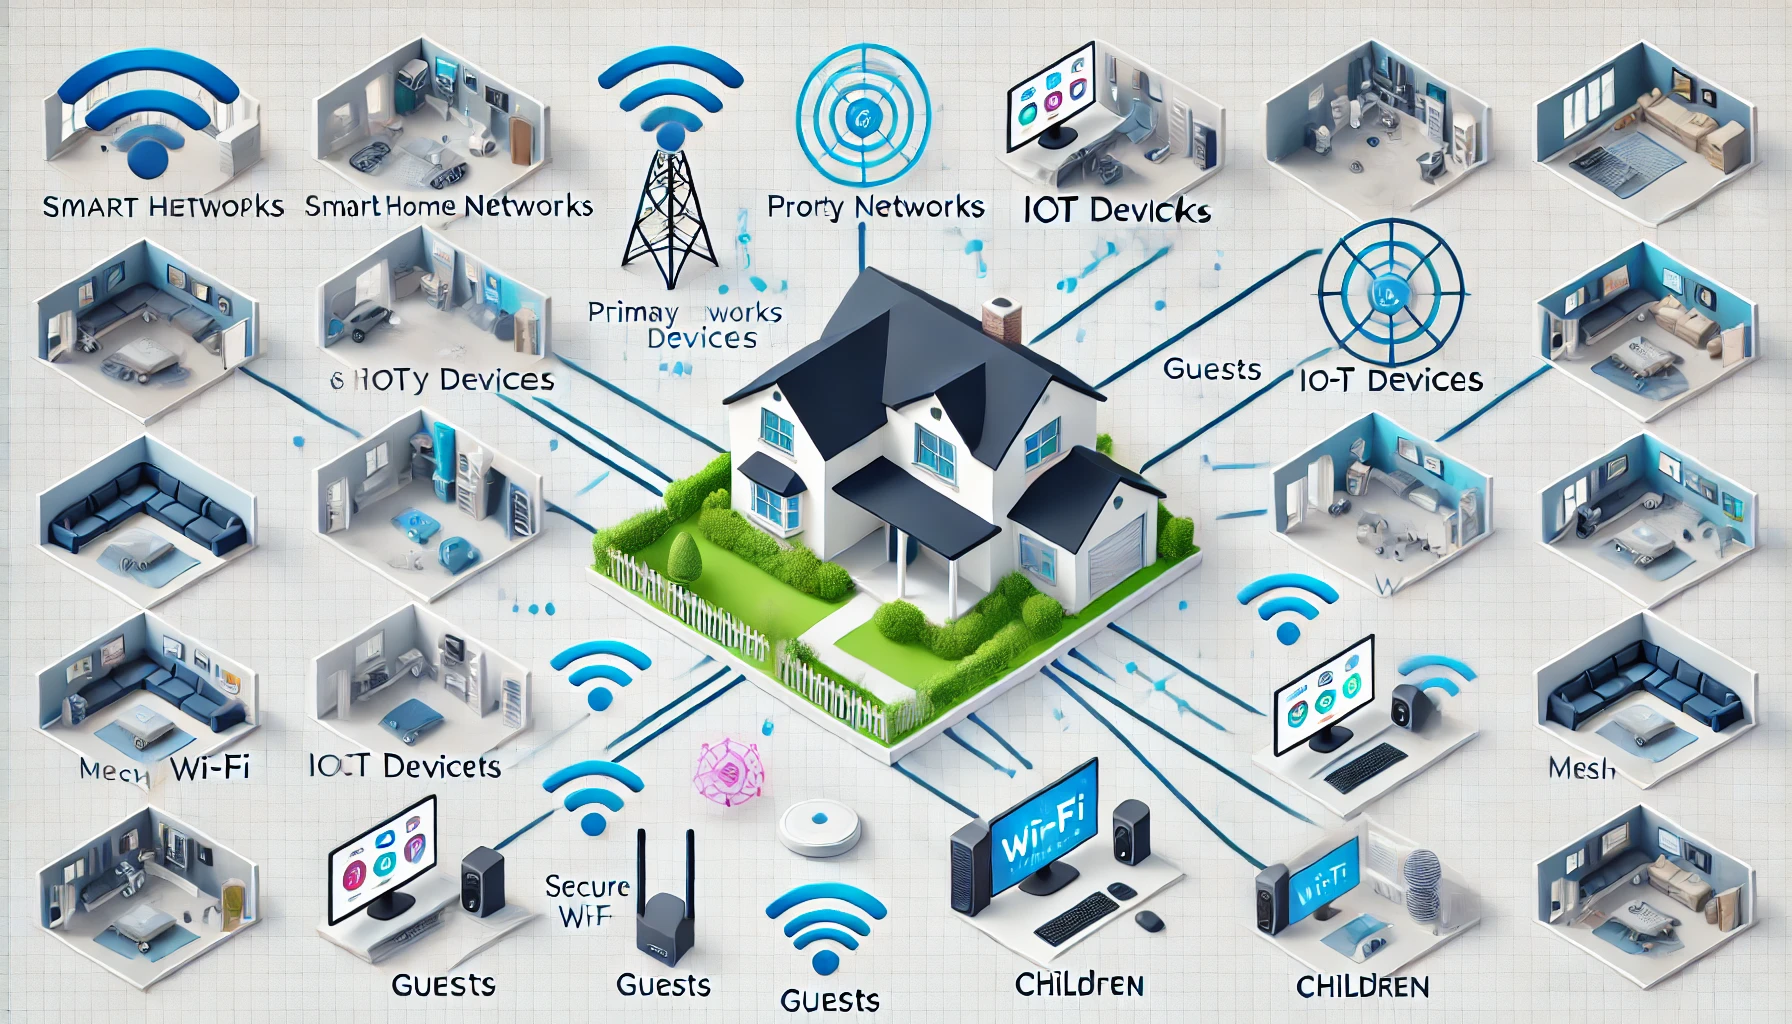
For enhanced security, it is recommended to segment your home network:
- Primary Network: For your personal devices (computers, phones).
- IoT Network: For smart home devices (cameras, lights, sensors). Use a VLAN or guest network to isolate your IoT devices.
- Guest Network: Set up a guest network for visitors. This ensures that guests who connect to your Wi-Fi are separated from your primary and IoT networks. They will have internet access but cannot access or interfere with your private devices.
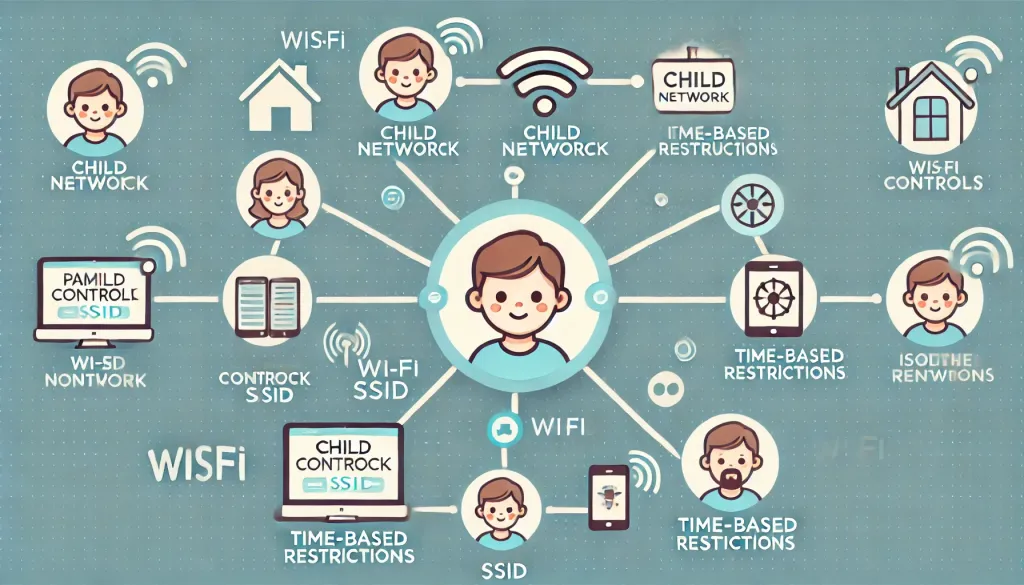
- Child Network: Set up a dedicated child network (Wi-Fi SSID or VLAN) for your children’s devices. This network can be isolated from your primary network, allowing for parental controls, content filtering, and time-based restrictions specific to the child network.
Mesh Wi-Fi Network
Use a mesh network to ensure a strong, uninterrupted signal throughout your home.
Using Fiber or Ethernet for Increased Security
Using wired connections such as fiber or Ethernet instead of Wi-Fi in your smart home can significantly enhance security:
- Reduced Risk of Wireless Attacks: Wired connections are not vulnerable to common Wi-Fi-based attacks like man-in-the-middle, Wi-Fi jamming, or de-authentication.
- Stability and Performance: Ethernet offers more stable and faster connections, which is critical for AI-driven devices and high-bandwidth applications like security cameras.
- Physical Security: It’s much harder for attackers to intercept traffic on a wired network without physical access to the cables.
Step 2: Choose Your Hardware

- Secure Router: Invest in a router with advanced security features, such as a firewall and support for WPA3 encryption. Recommended models: Ubiquiti UniFi Dream Machine Pro or other routers that support VLAN and Quality of Service (QoS).
- AI Cameras & Sensors: Install cameras and sensors with AI-based detection for increased security (e.g., Nest or Arlo cameras).
- Smart Hub: Use Samsung SmartThings, Home Assistant, or Hubitat to manage all devices from a centralized hub.
Step 3: Secure Your Smart Devices
- Disable Unnecessary Features: Turn off UPnP and remote access unless absolutely needed.
- Strong Passwords: Ensure all devices have strong, unique passwords.
- Two-Factor Authentication (2FA): Enable 2FA wherever possible, particularly for accounts related to your smart home devices.
Encryption and Data Storage
Ensure all communication between devices is encrypted using WPA3, and consider using local encrypted storage like NAS systems (e.g., Synology, QNAP) for securely storing data and footage from cameras.
Step 4: Set Up Network Monitoring
Use tools like PRTG Network Monitor or Zabbix to monitor network traffic and detect anomalies in real-time. Consider using NAS devices for local video storage to securely store footage.
Step 5: Automate Your Security
- Automatic Alerts: Set rules for cameras and sensors to notify you of unusual activity (e.g., broken windows, motion detection).
- Smart Locks & Lights: Integrate your smart locks and lights with voice assistants like Alexa or Google Assistant to automate responses to security triggers.
Step 6: Secure Access with VPN

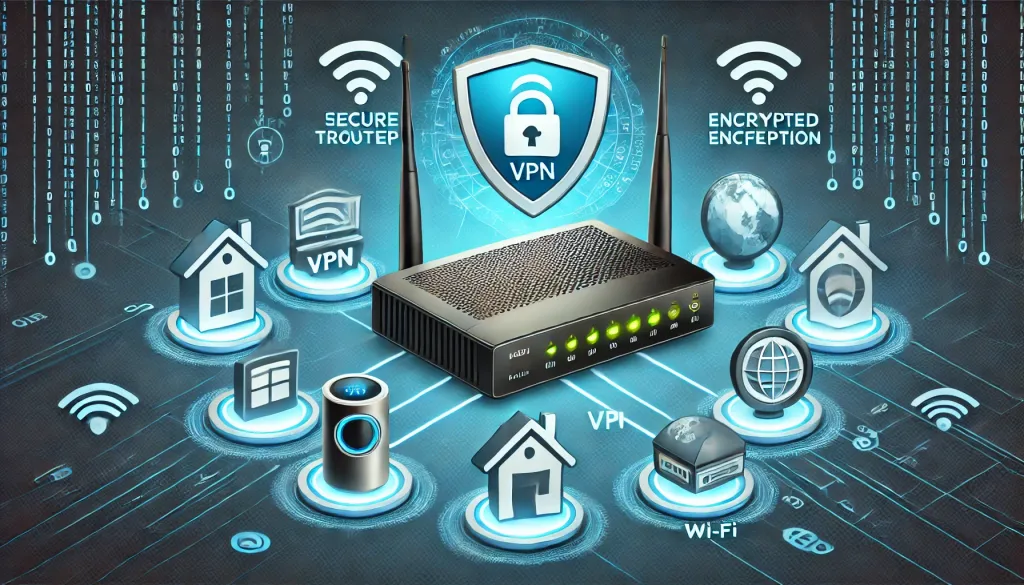
Install a VPN directly on your router to encrypt all incoming and outgoing traffic. If you need remote access to your network, use a Remote Access VPN for secure, encrypted connections.
Step 7: Regular Security Audits
Perform regular security audits of your network to check for vulnerabilities:
- Penetration Testing: Use tools like Wireshark, Nmap, or Kali Linux to simulate potential attacks and identify vulnerabilities in your network. Focus on scanning for open ports and unnecessary services.
- Check for Firmware Updates: Ensure the firmware of your router, smart hubs, and all connected devices is up to date. Enable automatic updates where possible.
- Review Network Segmentation: Confirm that your primary, IoT, guest, and child networks are properly segmented. Test isolation by trying to connect between different networks to confirm they cannot communicate directly.
- Review User Permissions: Audit all user accounts linked to your smart home devices and remove unused accounts. Ensure Two-Factor Authentication (2FA) is enabled for all relevant accounts.
- Check Password Security: Verify that all devices have strong, unique passwords, and change any default credentials. Consider using a password manager to keep track of passwords.
- Monitor Network Traffic: Use tools like PRTG Network Monitor, Zabbix, or GlassWire to monitor traffic for unusual behavior. Set alerts for abnormal activity, such as unexpected high data usage.
- Conduct Vulnerability Scans: Use tools such as OpenVAS or Nessus to scan for known vulnerabilities. Prioritize addressing high-risk issues.
- Check Firewall Rules: Ensure your router’s firewall is enabled and configured properly. Only allow necessary traffic and block unused ports, such as Telnet or FTP.
- Verify VPN Setup: Check that your VPN is encrypting all network traffic as intended. Ensure it uses strong encryption protocols, such as AES-256.
- Implement Zero-Trust Model: Adopt a Zero-Trust approach where every device and user must be authenticated, even if already inside the network. Use MAC address filtering to whitelist only approved devices.
- Physical Security Check: Ensure that all network equipment, such as routers and smart hubs, is physically secure. Disable WPS to prevent potential security exploits.
- Data Backup and Recovery Testing: Regularly back up critical data, configurations, and video footage. Perform test restorations to verify data recovery.
- Evaluate Device Behavior: Review logs from smart devices for suspicious activity. Remove unnecessary device integrations that may increase risk.
- Documentation and Reporting: Maintain a checklist for security audits and create reports highlighting vulnerabilities and actions taken. Schedule regular audits (e.g., quarterly) to keep your network secure.
Step 8: Child Network Setup and Control

Set Up a Dedicated Child Network
- Parental Controls: Use DNS services like OpenDNS FamilyShield or Cloudflare Family DNS to block inappropriate content based on categories (e.g., adult content, gambling, social media).
- Time-Based Restrictions: Schedule internet access for the child network, such as restricting access during school hours or bedtime.
- Isolation from Main Network: Ensure the child network is isolated from your primary and IoT networks to prevent unauthorized access to your personal devices or smart home systems.
Content Filtering and Monitoring
- DNS-Based Filtering: Use DNS-based filtering to block specific websites or entire categories of content.
- Monitor Usage: Monitor network traffic on the child network to ensure safe browsing habits and identify any unusual activity.
Step 9: Device Filtering for IoT Network

Add an extra layer of security by configuring your IoT network to allow communication only between approved devices:
- MAC Address Filtering: Use MAC address filtering on your router to control device access.
- Protocol Filtering: Limit devices to only necessary protocols (e.g., HTTP/HTTPS, MQTT, or SSH).
- Port Filtering: Block unnecessary ports (e.g., Telnet or FTP) and allow traffic only on required ports (e.g., port 443 for HTTPS).
- IP Filtering: Use firewall rules to allow communication only between specific IP addresses within your network.
NAT (Network Address Translation)
Assign NAT addresses to devices within your network to hide their private IP addresses from the public, which prevents unsolicited incoming traffic and increases security.
Assigning Static NAT Addresses Based on MAC Address
Assign static NAT addresses based on MAC addresses to ensure devices always receive the same public IP address, enhancing consistency and security.
Step 10: Following Manufacturer’s Instructions
Always follow manufacturer guidelines when setting up smart home devices and security features. Ignoring these guidelines can lead to vulnerabilities that expose your devices to risks.
Step 11: Backup and Data Recovery
Regularly back up your network configurations and critical data. Use encrypted local storage solutions, such as NAS devices, to maintain offline backups and restore data if needed.
Conclusion
By following these steps, you’ll have a robust and secure smart home network that protects your devices and personal data from potential threats. Regular system updates, security reviews, and adopting a Zero-Trust approach will help ensure ongoing protection.
Next Step
Continue with our next Guide How to Set Up Advanced Smart Home AI Automation.

