Control
Turn off a light from your phone without leaving the sofa.
For beginners
Explore your options and connect your first light with Home Assistant. Visual steps, at your pace.
 Start with a light or a sensorMore everyday comfort ↗
At my home
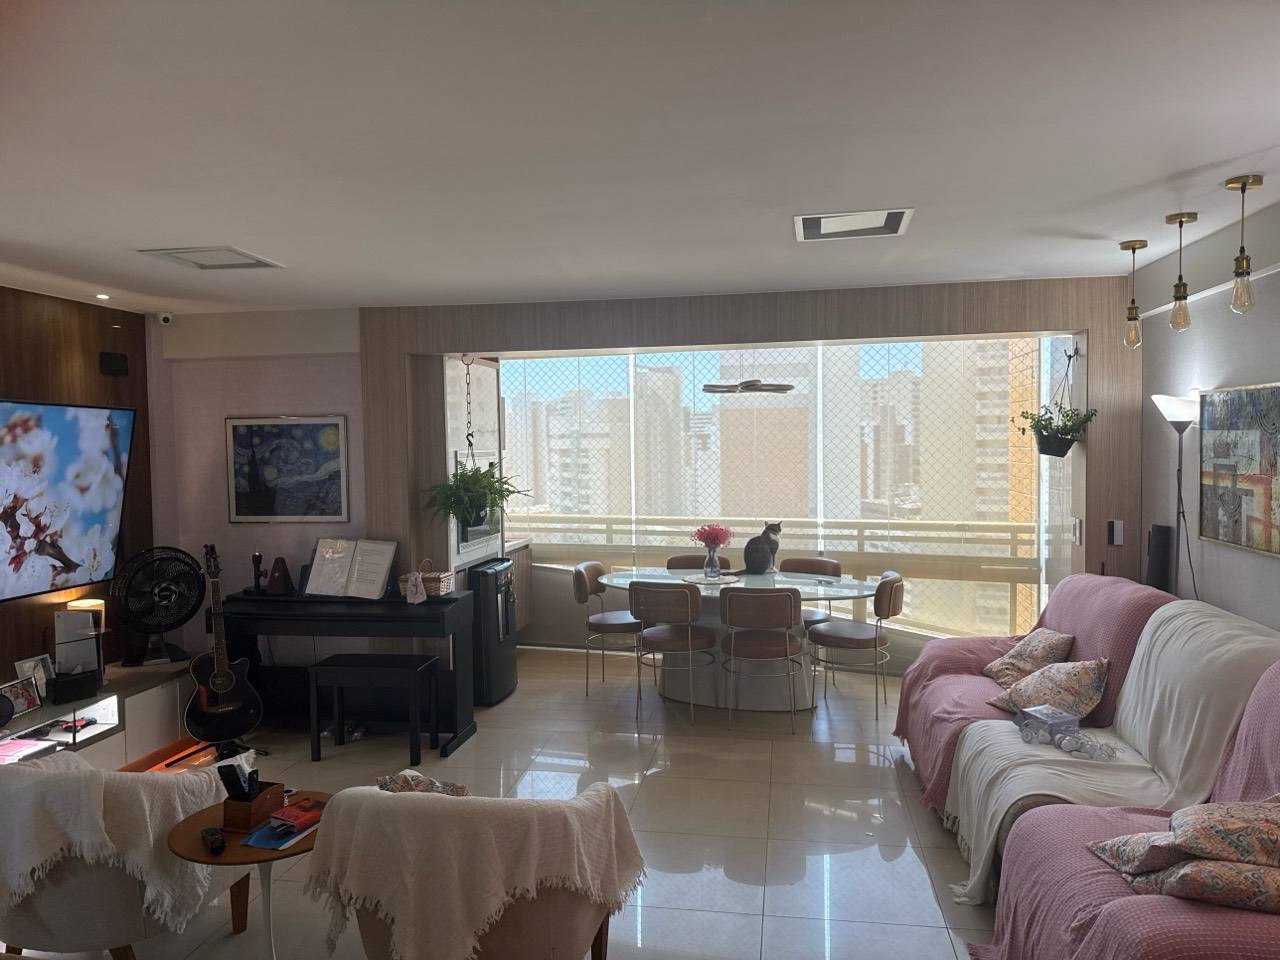
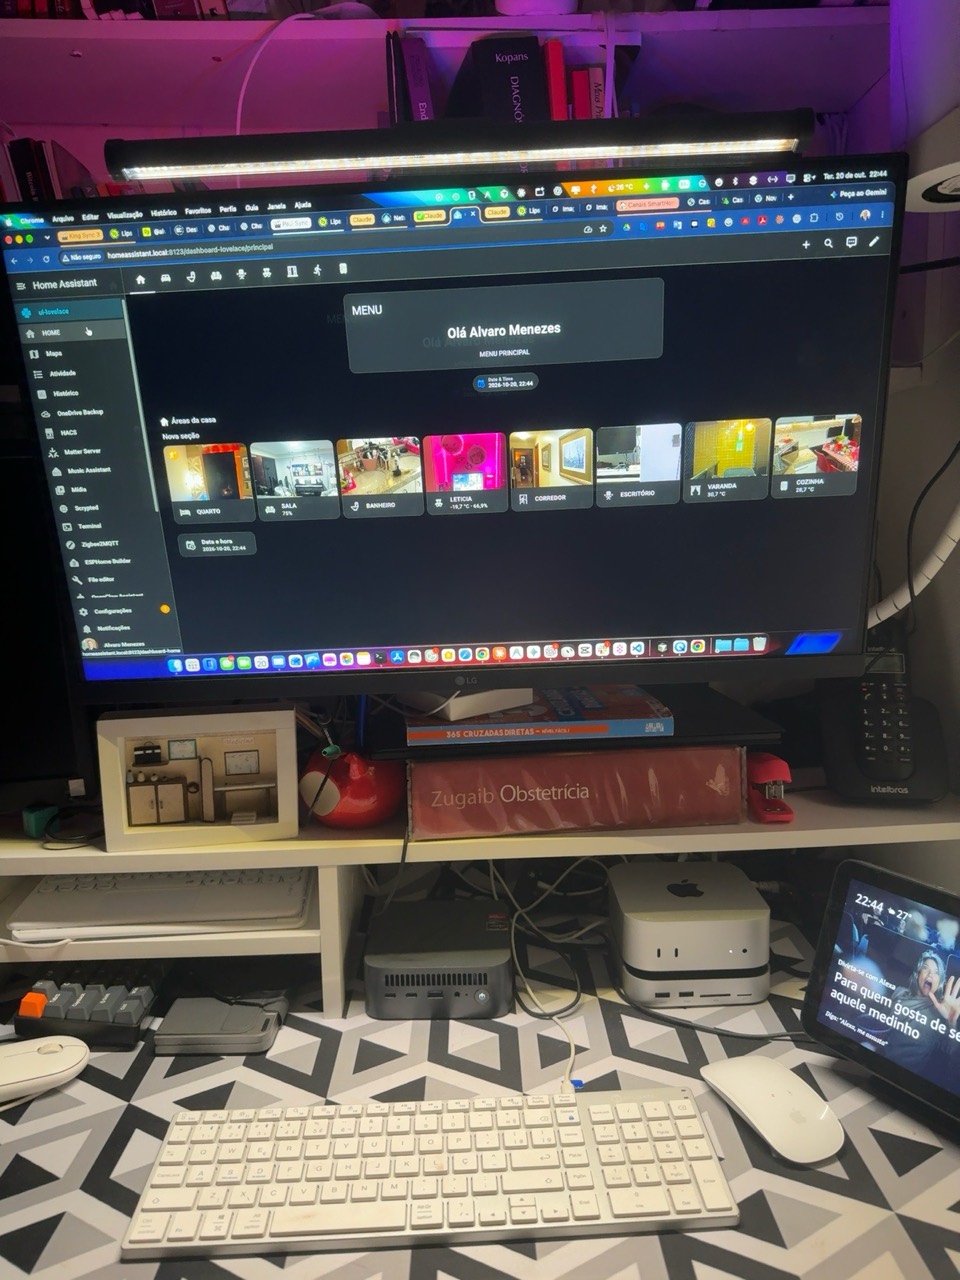
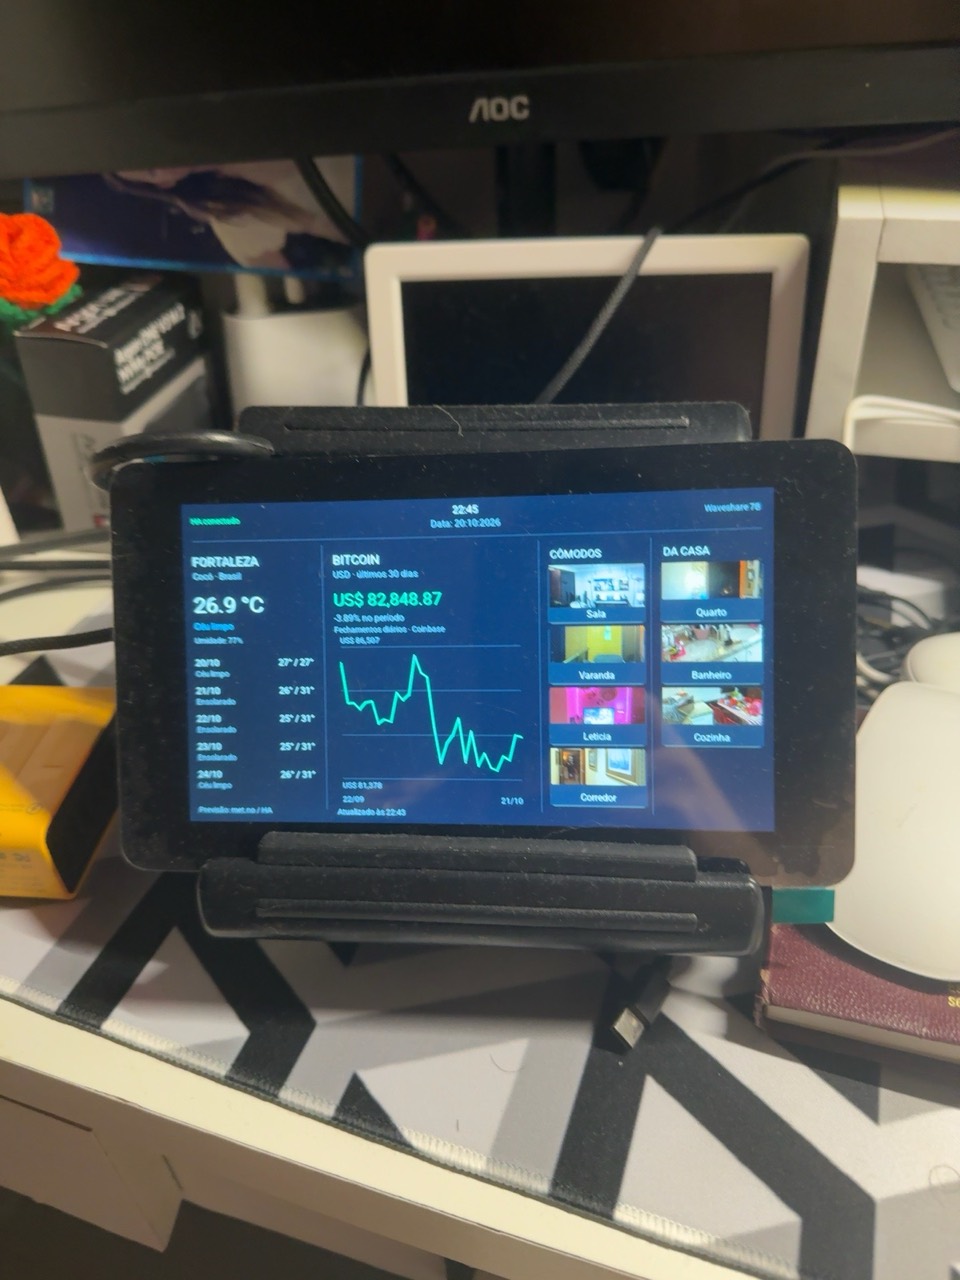
Explore the equipment I use at home: Home Assistant OS on a mini-PC, WLED and Philips Hue lighting, Alexa, Apple HomeKit, and an ESP32-S3 display with ESPHome. Original photos and details of the installed setup.
Explore my setup (Portuguese) →My photographs
These photographs show equipment I use at home. Open a photo to see it in full, or follow my installation report for details.
01 / One step at a time
Connected devices help with everyday tasks. Control them by phone or voice, or let an automation act for you.
Turn off a light from your phone without leaving the sofa.
Turn on the hallway light when someone walks by.
Check whether a window was left open before going out.
Start with one need, one light or one sensor. There is no need to automate the whole house.
Explore the connected home
Tap a room on the plan or use the buttons to turn its light on and off. Try the ready-made scenes, too.
Choose a room to begin.
Visual simulation: clicks only change this floor plan’s lighting. Your choices are saved in this browser, including when switching PT/EN.
Examples to explore
Pick an everyday task. Then find the right device.
12 devices to explore
 Zigbee
Color for atmosphere. Warm or cool white for every moment.
RGBCCT combines RGB with adjustable white color temperature. Check the features exposed by the model in ZHA or Zigbee2MQTT.
Read the guide ↗ WLED · ESPHome
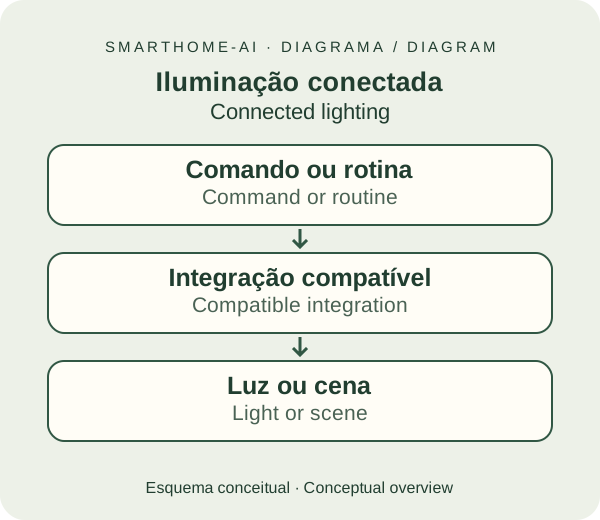
Indirect light, color and scenes that follow your day.
Addressable and analog strips need different controllers. Match strip type, voltage, power supply and controller.
Read the guide ↗ Zigbee · Wi-Fi
Discreet automation that keeps your existing wall switch.
Check neutral, voltage, load rating and wall-box space. Mains installation requires a qualified electrician.
Read the guide ↗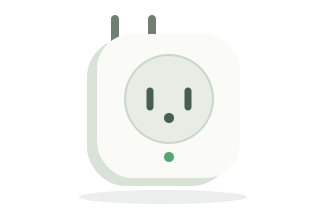 Zigbee · Wi-Fi · Matter
Control appliances and, with supported models, track energy use.
Check plug type, current rating and energy metering. Matter does not guarantee every feature of the vendor app.
Read the guide ↗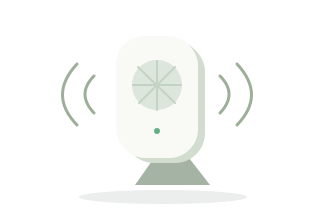 mmWave · PIR
Light follows room occupancy without a button press.
PIR responds to motion; mmWave radar can detect smaller movements. Position, zones and sensitivity need tuning.
Read the guide ↗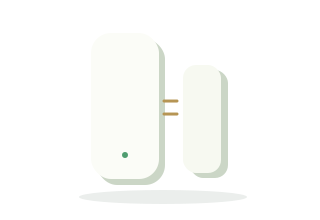 Zigbee · Thread
Know what is open and use that state in your automations.
Align both parts within the manufacturer’s specified gap. A contact detects opening; it does not confirm the door is locked.
Read the guide ↗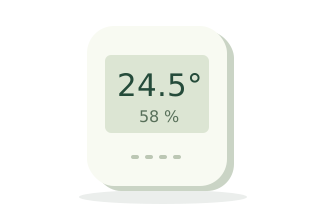 Zigbee · ESPHome
Understand each room’s comfort with measurements throughout the day.
Avoid direct sunlight and heat sources. Check accuracy, update interval and calibration support.
Read the guide ↗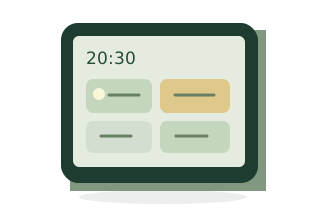 Dashboard · ESP32
Lights, climate and scenes on a screen everyone can reach.
A tablet can display a Home Assistant dashboard. ESP32 panels use their own interfaces, for example ESPHome with LVGL.
Read the guide ↗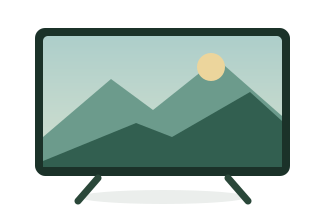 Wi-Fi · Ethernet
Bring your TV into movie scenes and living-room controls.
Integration depends on the manufacturer and model. Network power-on may need Wake-on-LAN or a standby setting.
Read the guide ↗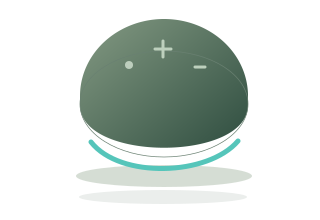 Echo · Assist
Voice commands for scenes and everyday tasks.
Alexa relies on online services. Nabu Casa simplifies Home Assistant integration; Assist offers alternatives, including local options.
Read the guide ↗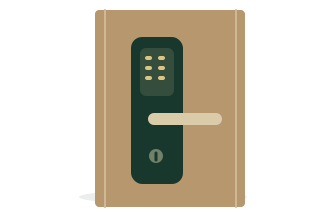 Zigbee · Matter · Wi-Fi
Check lock status and organize access to your home.
Check door fit, emergency access, batteries and model integration. Local operation varies by product.
Read the guide ↗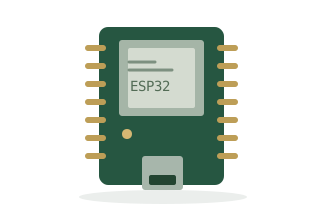 ESPHome · Wi-Fi
Build sensors, controls and devices around your own ideas.
Choose a supported board and components. Start with a low-voltage project and follow the ESPHome documentation.
Read the guide ↗Original diagrams illustrate concepts, not commercial models. Consult manufacturers for compatibility and local availability.
September 2026 release. Continuous 360° lighting; availability varies by region.
Product reference: Signify / Philips Hue ↗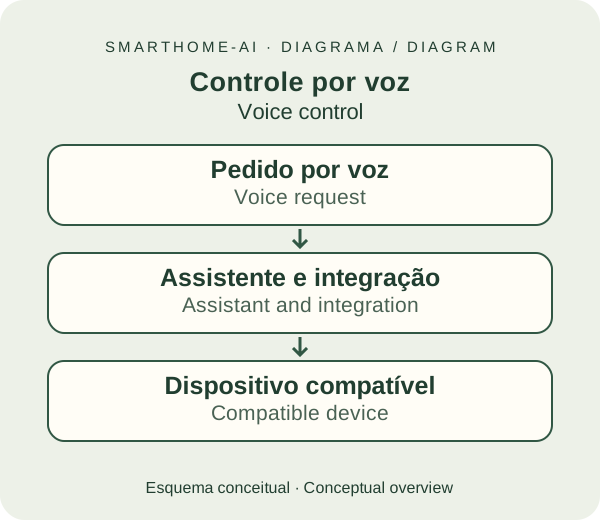
Released in 2025, with two-way audio and Alexa.
Product reference: Amazon ↗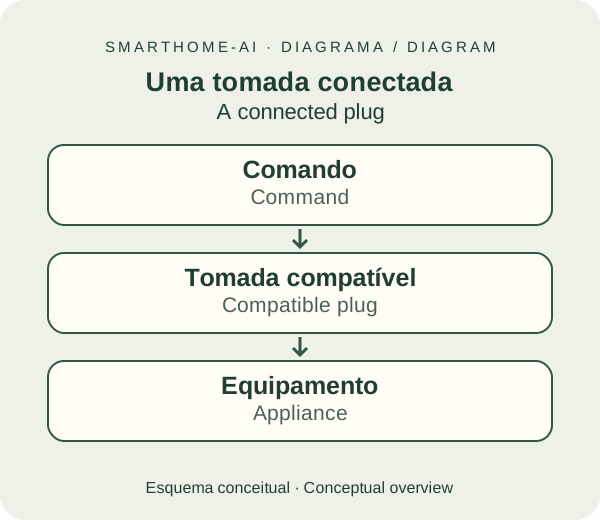
Generation 4 with energy metering. The reference is the US 120 V model; check local electrical standards.
Product reference: Shelly ↗02 / One step at a time
These platforms can coexist. Here, Home Assistant is the hub; other systems can complement it.
Our guide’s focus
A hub that brings devices and automations from different brands together.
Platform
Amazon’s ecosystem, known for Echo devices and voice commands.
Platform
Google’s app and ecosystem for organizing and controlling your home.
Platform
The Home app connects supported accessories to iPhone and Siri.
Platform
An app for Samsung devices and other supported brands.
Platform
A platform used by many brands, often through the Smart Life app.
Our learning path: Home Assistant OS with local Zigbee. An Alexa or Smart Life badge alone does not guarantee direct Home Assistant support: check the exact model.
03 / One step at a time
Free, open-source software that brings controls, sensors and automations onto one screen. It runs on an always-on device at home.
The screen shows the lights, temperatures and devices you add. Start by opening a device, naming it and assigning a room.
With local devices and integrations, automations work without internet. The hub and local network must stay on; cloud services still need internet.
Understand Home Assistant →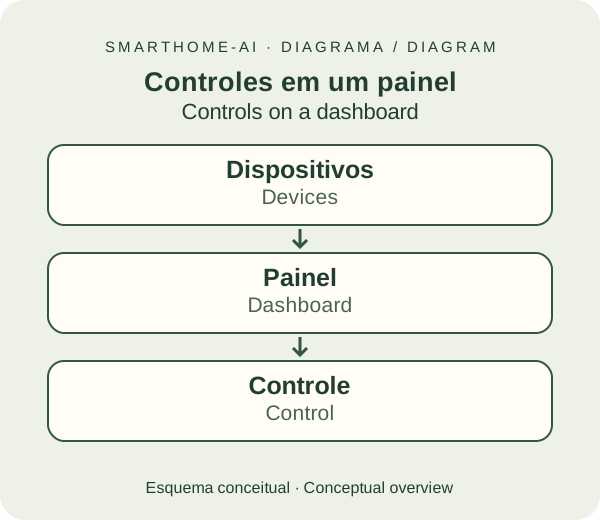
04 / One step at a time
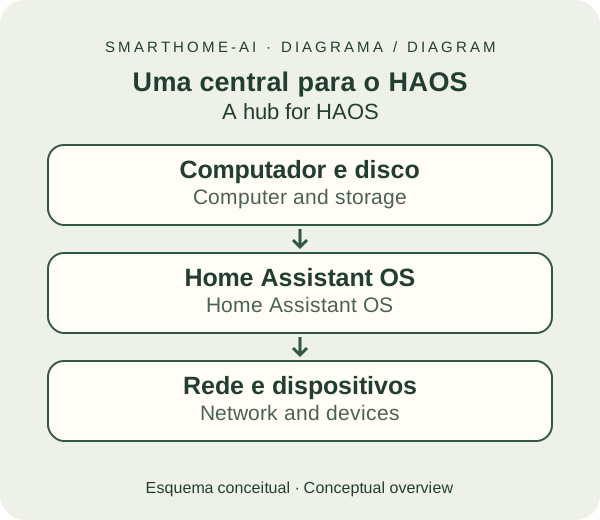
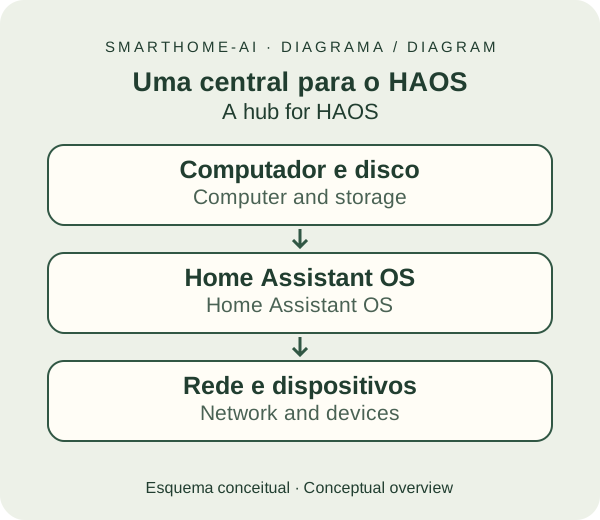
HAOS needs an always-on computer at home. Choose from the ready-to-use Green to more capable mini PCs.
For an easy start, choose Green. For more headroom, consider an N150 with 16 GB.
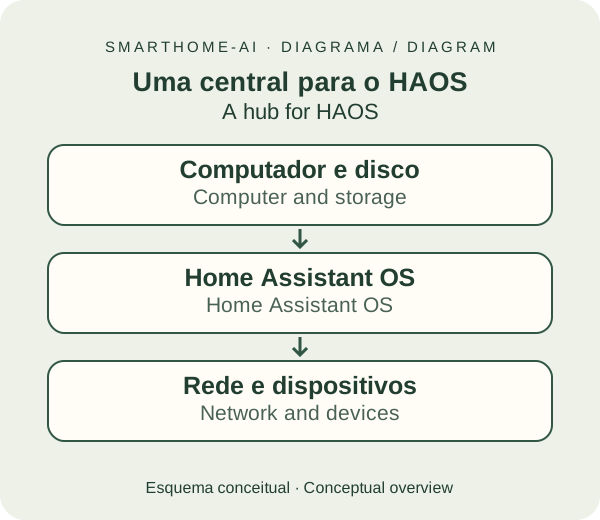
Easiest first step
4 GB RAM · 32 GB eMMC
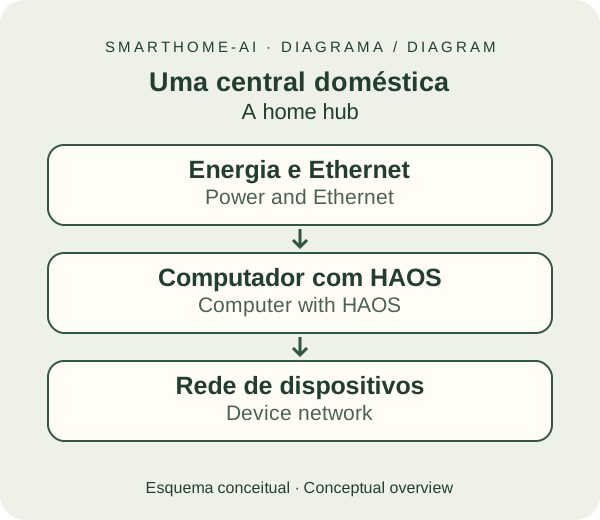
For hands-on beginners
8 GB RAM · SSD NVMe 500 GB / 1 TB
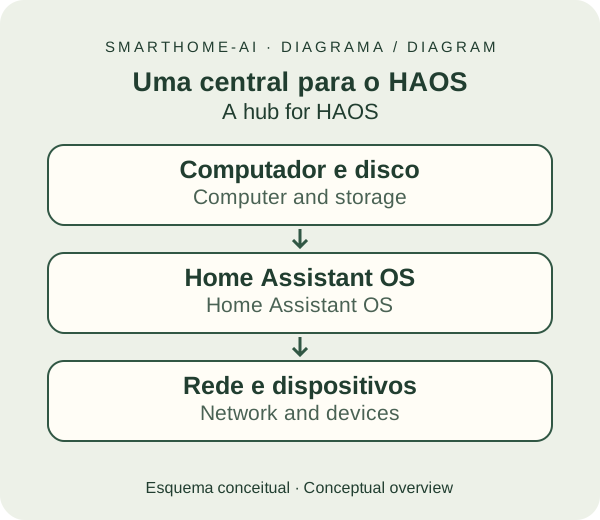
A balanced HAOS choice
16 GB RAM · 500 GB or 1 TB SSD/NVMe
Room to grow
16 or 32 GB RAM · 500 GB or 1 TB SSD/NVMe
For more demanding plans
16 or 32 GB RAM · 500 GB or 1 TB SSD/NVMe
Checked on 21 October 2026. The advertised prices below apply to specific models and payment methods. Request a quote for the other options; generic searches only help locate suppliers.
Advertised prices, checked on 21 October 2026. The K6 and K8 Plus pages showed available stock and free shipping within Brazil; check the shipping policy. Confirm terms, taxes and availability before buying. The offers do not itemize taxes.
Compare the final total including shipping, taxes, warranty and payment method. Prices exclude ZBT-2. Other configurations need their own quote. Mini PC diagrams illustrate the category, not every listed offer; confirm RAM, SSD type and upgrade options on the exact model.
Specifications: Green · Raspberry Pi 5 · Intel N150. About the diagrams.
05 / One step at a time
HAOS manages Home Assistant, updates and Apps. It is the only installation used in our beginner path.
01 / Ready to connect02 / Build your hub03 / Intel or AMDChoose your hardware guide. Each covers first access, ZBT-2 with ZHA and your first backup. See the installation overview.
06 / One step at a time
Zigbee is a wireless connection for lights, buttons and sensors. It uses its own network rather than adding every device to Wi-Fi.
A wide device selection, low-power battery sensors and local control through ZHA. Suitable mains-powered devices can relay the signal.
Needs a coordinator such as ZBT-2. Walls and 2.4 GHz interference affect reception. Battery sensors usually do not relay signals; check each model’s support.
Another low-power network, often used by Matter devices. It connects through a Thread border router. Useful, but it adds that requirement and needs compatibility checks.
ZBT-2 uses Zigbee or Thread, one at a time. This path keeps it on Zigbee.
Understand Zigbee →07 / One step at a time
Matter is a standard for connecting supported devices to different platforms. It can use Wi-Fi, Ethernet or Thread. Matter and Thread are different things.
Benefit: it can make one device available to multiple ecosystems. Limitation: feature support varies; Matter-over-Thread devices need a Thread border router and a Matter controller. You can start with Zigbee and explore Matter later.
Understand Matter and Thread (PT) →08 / One step at a time
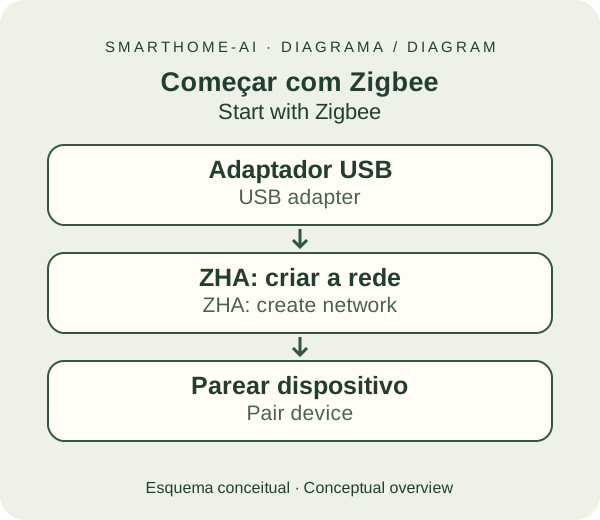
ZBT-2 is the USB adapter that speaks Zigbee. ZHA is Home Assistant’s built-in integration for managing that network.
Zigbee2MQTT (Z2M) is another option, covered in further learning (PT).
09 / One step at a time
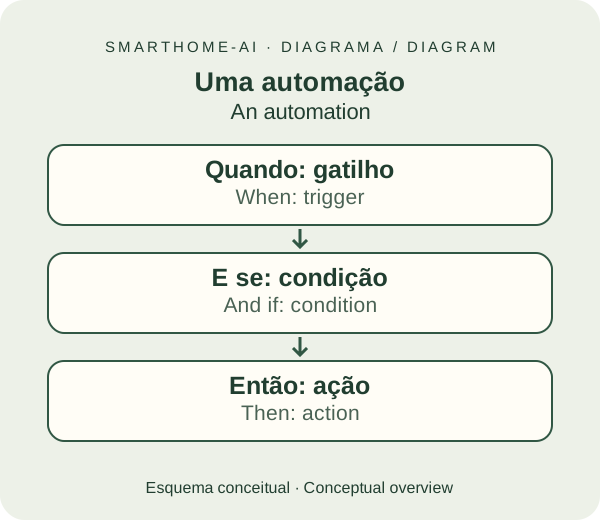
Let’s switch on a light at sunset. Choose what starts the automation and what it does.
10 / One step at a time
These features are optional. You do not need them for your first light with ZHA.
You have the essentials
Keep the learning path handy and revisit each step when you need it.
Open the step-by-step path →When you are ready
The beginner path ends here. Return to the topics below when you have a reason to explore.
Alternative installations, Zigbee2MQTT, servers, AI cameras and additional features.
Open further learning (PT) →References
Official projects and communities to help you learn.
20 links to explore
External links open in a new tab. SmartHome-AI is an independent project, not officially affiliated with the brands mentioned.

Behind SmartHome-AI
I’m Álvaro Menezes, a technology and home automation enthusiast sharing what I learn about smart homes.
About the project ↗